Showing posts with label Apache Anarchy. Show all posts

Wednesday, January 21, 2015

Single Sign On from Apache in Django using Active Directory and LDAP

UPDATE: 2015-02-25 Today I nearly crapped a cow. I was testing out a custom ErrorDocument 401 directive that would redirect back to the sign in page (BTW: that's a bad idea, IE & Firefox sign on windows are modal). I clicked OK with empty username and empty password fields, and I got the dreaded Internal Sever Error HTTP/1.1 500 page. Then because the browser had cached the empty creds, I could not get back on the server. Clearing the cache and browser history had no effect. I actually thought I had broken Apache! Stack Exchange ServerFault to the rescue. The fix is to set AuthLDAPBindAuthoritative off in httpd.conf.

So you have a nice and shiny new Django application, you successfully transitioned from development to production, and now you want to add Single Sign On (SSO) so users can use the same credentials they already use somewhere else. Sounds good, how do you do it?

TL;DR

This is surprisingly easy, although there is some new syntax to learn, and you will need to get some info from your system administrator. Here are some steps for Apache-2.4 from ApacheLounge.
  1. Follow the directions in the Django documentation on Authentication using REMOTE_USER and add RemoteUserMiddleware and RemoteUserBackend to AUTHENTICATION_BACKENDS to your settings file. This will use the REMOTE_USER environment variable set by Apache when it authorizes users and use it for authentication on the Django website.
  2. Note: This will change how Django works; for example, any authorized user not in the Django Users model will have their username automatically added and set to active, but their password and the is_staff attribute will not be set.

  3. Get the URL or IP address of your Active Directory server from your system administrator. For LDAP with basic authentication, the port is usually 389, but check to make sure.
  4. Also get the "Distringuished Name" of the "search base" from your system administrator. A "Distringuished Name" is LDAP lingo for a string made up of several components, usually the "Organizational Unit (OU)" and the "Domain Components (DC)", that distinguish entries in the Active Directory.
  5. Finally ask your system administrator to set up a "binding" distinguished name and password to authorize searches of the Active Directory.
  6. Then in httpd.conf enable mod_authnz_ldap and mod_ldap.
  7. Also in httpd.conf add a Location for the URL endpoint, EG: / for the entire website, to be password protected.
  8. You must set AuthName. This will be displayed to the user when they are prompted to enter their credentials.
  9. Also must also set AuthType, AuthBasicProvider, AuthLDAPUrl and Require. Prepend ldap:// to your AD server name and append the port, base DN, scope, attribute and search filter. The port is separated by a colon (:), the base DN by a slash (/) and the other parameters by question marks (?) such as:
    ldap://host:port/basedn?attribute?scope?filter
  10. <Location />
      AuthName "Please enter your SSO credentials."
      AuthBasicProvider ldap
      AuthType basic
      AuthLDAPUrl "ldap://my.activedirectory.com:389/OU=Offices,DC=activedirectory,DC=com?sAMAccountName"
      AuthLDAPBindDN "CN=binding_account,OU=Administrators,DC=activedirectory,DC=com"
      AuthLDAPBindPassword binding_password
      AuthLDAPBindAuthoritative off
      LDAPReferrals off
      Require valid-user
    </Location>
    
  11. The "attribute" to search for in Windows Active Directory is "SAM-Account-Name" or sAMAccountName. This is the equivalent of a user name.
  12. The default "scope" is sub which means it will search the base DN and everything below it in the Active Directory. And the default "filter" is (objectClass=*) which is the equivalent of no filter.
  13. There are several options for limiting users and groups. If you set Require to valid-user then any user in the AD who can authenticate will be authorized.
  14. Set AuthLDAPBindDN and AuthLDAPBindPassword to the binding account's DN and password.
  15. It has been reported that LDAPReferrals should be set to off or you may get the following error.

    (70023)This function has not been implemented on this platform: AH01277: LDAP: Unable to add rebind cross reference entry. Out of memory?

  16. Finally, restart your Apache httpd server and test out your site.
Now when users go to your Django site, when they open the location that requires authentication they will see a pop up that asks for their credentials.

Loggout

In addition to adding authenticated users to the Django Users model, the users credentials are stored in the browser. This makes logging out akward since the user will need to close their browser to logout. There are several approaches to get Django to logout a user.
  • redirect the user to a URL with fake basic authentication prepended to the path.
  • http://log:out@example.com
  • render a template with status set to 401 which is the code for unauthorized that will clear the credentials in browser cache.
  • from django.shortcuts import render
    from django.contrib.auth import logout as auth_logout
    import logging  # import the logging library
    logger = logging.getLogger(__name__)  # Get an instance of a logger
    
    def logout(request):
        """
        Replaces ``django.contrib.auth.views.logout``.
        """
        logger.debug('user %s logging out', request.user.username)
        auth_logout(request)
        return render(request, 'index.html', status=401)
    

Using Telnet to ping AD server

A lot of sites suggest this. First you will need to enable Telnet on your Windows PC. This can be done from Uninstall a program in the Control Panel by selecting Turn Windows features on or off and checking Telnet Client. Then opening a command terminal and typing telnet followed by open my.activedirectory.com 389. Surprise! If it works you will only see the output:
Connecting to my.activedirectory.com...
If it does not work then you will see this additional output:
Could not open connection to the host, on port 389: Connect failed
Now treat yourself and try open towel.blinkenlights.nl. Use control + ] to kill the connection, then type quit to quit telnet.

Testing LDAP using Python

  • Python-LDAP
  • So to learn more about LDAP there are a couple of packages that you can use to interrogate and authenticate with and AD server using LDAP. Python-LDAP seems to be common and easy to use. It's based on OpenLDAP Here's a list of common LDAP Queries from Google.
    >>> import ldap
    >>> server = ldap.initialize('ldap://my.activedirectory.com:389')
    >>> server.simple_bind('CN=bind_user,OU=Administrators,DC=activedirectory,DC=com','bind_password')  # returns 1 on success
    1
    >>> user = server.search_s('OU=Users,DC=activedirectory,DC=com',ldap.SCOPE_SUBTREE,'(&(sAMAccountName=my_username)(ObjectClass=user))',('cn','sAMAccountName','mail'))
    >>> user
    [('CN=My Name,OU=Super-Users,OU=USA,OU=California,OU=Sites,DC=activedirectory,DC=com',
      {'cn': ['My Name'],
       'sAMAccountName': ['my_username'],
       'mail': ['my_username@activedirectory.com']})]
    >> users = server.search_s('OU=Users,DC=activedirectory,DC=com',ldap.SCOPE_SUBTREE,'(&(memberOf=CN=@my_group,OU=Groups,OU=Users,DC=activedirectory,DC=com)(ObjectClass=user))',('cn','sAMAccountName','mail'))
    [('CN=My Name,OU=Super-Users,OU=USA,OU=California,OU=Sites,DC=activedirectory,DC=com',
      {'cn': ['My Name'],
       'sAMAccountName': ['my_username'],
       'mail': ['my_username@activedirectory.com']}),
    ('CN=Somebody_Else,OU=Super-Users,OU=USA,OU=California,OU=Sites,DC=activedirectory,DC=com',
      {'cn': ['Their name'],
       'sAMAccountName': ['their_username'],
       'mail': ['their_username@activedirectory.com']})]
    
  • PyAD
  • Another Python package that can use LDAP to search an active directory is PyAD which uses PyWin32 and ADSI on Windows.
  • PyWin32
  • The only decent documentation for this is Tim Golden's website.

Alternatives

  • SSPI/NTLM
  • If users will only use the Django application on a Windows PC which they already have been authorized, EG through windows logon, then using either mod_authnz_sspi or mod_authnz_ntlm to acquire those credentials from your Windows session is also an option.
  • Django Extensions and Snippets
  • There are several Django extensions and snippets that use Python-LDAP and override ModelBackend so that Django handles authorization and authentication instead of Apache.

    Some Django extensions and snippets also exist to subclass ModelBackends to use PyWin32 to use local credentials from the current windows machine for authorization and authentication from within Django.

  • SAML and OAuth
  • Sure you could do this. You can also use SSL with LDAP or Kerebos with SSPI/NTLM. But, alas, I did not research these options althought I did come across a few references.

CSS and JS

The references section loosely based on Javascript TOC robot. It could also use the counters and the ::before style pseudo-element, but since I'm using JavaScript it doesn't make sense. But here's what that looked like anyway.

Example

first reference

second reference

Example

first reference

second reference

In case it wasn't clear above the JavaScript below is not what I'm using on this page. It was for a different approach using counters which I scratched, so these examples are very contrived and don't really make sense anymore.

Thursday, July 24, 2014

Django from development to production: Apache and PostgreSQL

Perhaps like many, I start my Django projects with the default settings. That means that my database backend is SQLite and I use the simple HTTP server provided by Django for debugging. (See this post for a hack to get the debug server to run as a Windows service.) Now it's time for production, and that means using a real HTTP server like Apache and a perhaps a more flexible database like PostgreSQL. Here are some notes on the steps I took, and a couple of missteps as well. There are many other blogs with similar notes, eg Salty Crane. By the way I am using Django-1.6.5 and South-1.0. The Django How-To Deployment and Installation guides both recommend using Apache with mod-wsgi. The Install FAQs recommend PostgreSQL with psycopg2.

Apache HTTP Server

  1. Download Apache from ApacheLounge. I chose the 64-bit Windows binary built with VC10 because my system is 64-bit and I have VC10. Also it matches the mod-wsgi binary available for Windows-x64. I also chose Apache-2.4 version instead of the older 2.2.
  2. The ApacheLounge zip file has instructions, but it's simple, just extract it to c:\Apahce24. I also made a shortcut to ApacheMonitor.exe in my Startup folder. This nifty app runs in the system tray giving you the server status, and lets you restart, stop or start the server or open services. Finally I changed ownership of the folder recursively to SYSTEM.
  3. Download mod_wsgi from Graham Dumpleton's GitHub releases page - it has all of the windows binaries you need. Unfortunately Christoph Gohlke's version on his website - Python Extension Packages for Windows - doesn't have a 64-bit version. Extract the library, and copy it to your Apache/modules folder.
  4. edit httpd.conf to load the mod_wsgi module. See the Django documentation on how to Use Apache with mod_wsgi and the mod_wsgi quick installation guide for configuration. Specifically add the line LoadModule wsgi_module modules/mod_wsgi.so - I added it to the end of the list of modules. Note comments are preceded by # (aka: the hash symbol).
  5. Provide the mod_wsgi parameters that allow the server to serve the Django folder:
    WSGIScriptAlias / /path/to/mysite.com/mysite/wsgi.py
    WSGIPythonPath /path/to/mysite.com
    
    <Directory /path/to/mysite.com/mysite>
    <Files wsgi.py>
    Require all granted
    </Files>
    </Directory>
    
  6. Alias and allow the static and media folders:
    Alias /static/ /path/to/mysite.com/STATIC_ROOT/
    Alias /media/ /path/to/mysite.com/MEDIA_ROOT/
    <Directory /path/to/mysite.com/STATIC_ROOT>
    Require all granted
    </Directory>
    <Directory /path/to/mysite.com/MEDIA_ROOT>
    Require all granted
    </Directory>
    
    I put these and the preceding lines in the section of httpd.conf where it says to specify which folders to allow access.
  7. Use manage.py collectstatic to make all admin files and other css/js files available to server. Make sure STATIC_ROOT is set to the same folder that is aliased in the httpd.conf file, and that it is empty because it will be overwritten. I keep all of my bootstrap and tablesorter files as well as images and icons in an assets folder that is on my STATIC_DIRS list.
  8. Turn DEBUG and TEMPLATE_DEBUG off.
  9. You must specify ALLOWED_HOSTS, e.g. mydomain.com, or you will get a 500 server error.
  10. Install Apache as service, from admin COM window, navigate to C:\Apache24\bin and type httpd.exe -k install, now go to your site and see if it works? You may need to start the service. You can use the ApacheMonitor to start it or open services. If you are not an admin, it will prompt you for admin creds.

Now for Postgre

  1. first make a copy of your db.sqlite3 file.
  2. Make a mental check list of all of the apps and models you have and use manage.py dumpdata --natural myapp1 myapp2 myapp3.mymodel auth.user etc. > myfixtures.json to save them all to a JSON file. Note: only select your models, or you may get integrity or other errors when loading fixtures, and don't forget auth.user or auth.groups if you are using them. Specify models of apps using dot notation. You may need the --natural option for auth objects, not sure, but it doesn't hurt.
  3. Download PostgreSQL from EnterpriseDB and install it. Note: If you are on a domain network and are using Vista or Server 2003/2008 you may experience a well known issue with the message, "database cluster initialisation failed". To resolve the issue, (1) create a local user with admin rights, (2) uninstall Postgres and delete C:\Program Files\PostgreSQL, (3) log out and log on as the local user, (4) turn off antivirus and reinstall PostgreSQL into C:\PostgreSQL not C:\Program Files, (5) recursively add full-control permissions of C:\PostgreSQL to new user, (6) without uninstalling, rerun installer which will state that it detects your previous installation and is updating it and make sure that you use the same data folder.
  4. I also made a file in my profile's bin folder with the following code
    C:\PROGRA~1\PostgreSQL\9.3\bin\psql.exe %*
    so that I can use manage.py dbshell in my Git Bash shell which has %USERPROFILE%\bin (aka ~/bin) on my path by default, and I made another script for Bash
    #! /bin/sh
    /c/Program\ Files/PostgreSQL/9.3/bin/psql.exe "$@"
    
    so that I can use psql -U -h localhost -p 5432 in my Git Bash shell.
  5. Download the Python PostgreSQL binding psycopg (aka psycopg2) from Stickpeople Project another extraordinary good Samaritan service like Christoph Gohlke's Python Extension Packages for Windows, who also has another version of psycopg2 build from PostgreSQL-9.3 available for download.
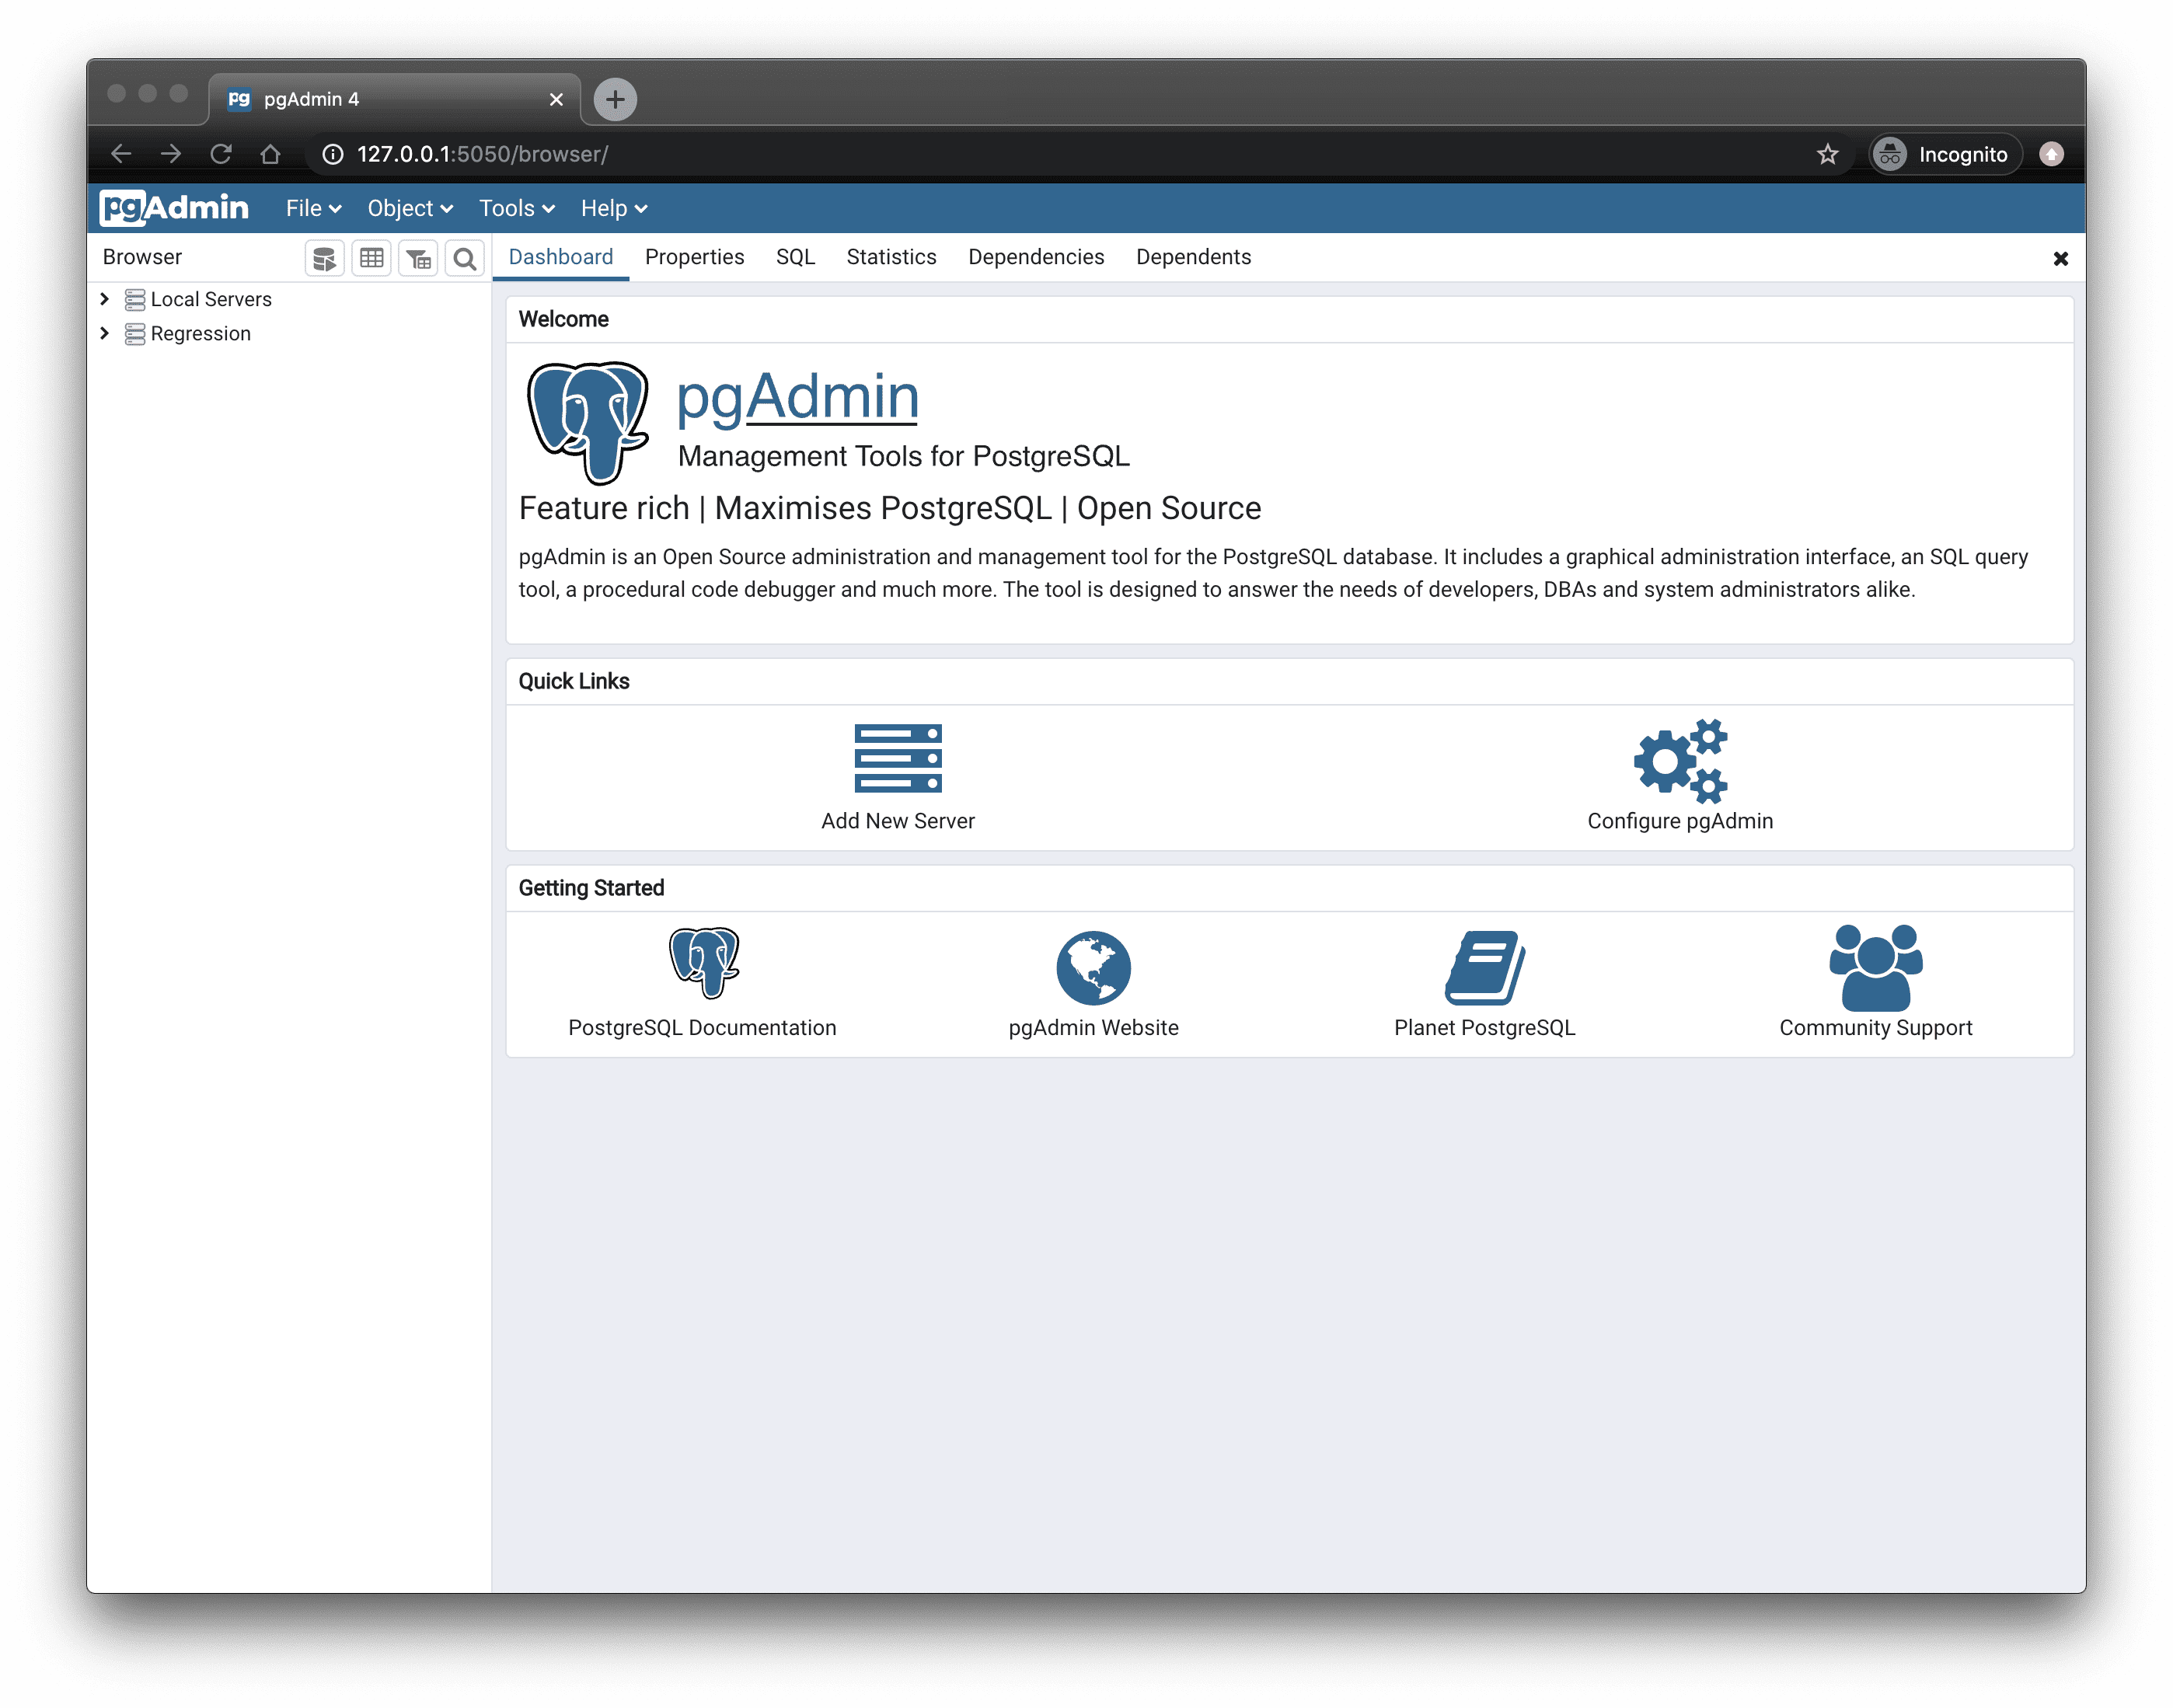
  6. Use the pgAdmin panel to connect to the server and create a new user and set the password, e.g. django.
    Just right click on Postgre-9.3 (localhost:5432), select Connect and enter your password. Then right click on Databases and select New Database. For new users right click on Login Roles and select New Login Role.
  7. Create a new database for your Django project and set the new user as the owner. See the PostgreSQL notes in the Django Database documentation.
  8. Update your settings for the new database. A PostgreSQL example is given in the Settings documentation for DATABASE. Set the ENGINE key to postgresql_psycopg2, NAME to the name you gave your Django project's database, USER to the owner you set for the new database, and PASSWORD to the database owner's password. HOST is probably 'localhost' and PORT is probably 5432.
  9. Check one last time that you've backed up the old database and used dumpdata to save fixtures of your apps and models, including auth.users and auth.groups in a JSON file. Then use manage.py syncdb to install your Django project in the new database. Say yes or no when it asks to create a superuser, because when you load the fixtures it will overwrite any rows in your tables.
  10. Use South to migrate the databases, eg manage.py migrate <app>, etc. for all apps in your project.
  11. Now use manage.py loaddata myfixtures.json to load your app and model data into the new database. You should be able to load them with one file containing all of the fixtures, because Django will reference the fixture for tables or rows not yet created. Do not include any extra Django fixtures, or you will raise exceptions. Specifically do not use manage.py dumpdata without specifying any of your apps or models or Django saves extra duplicate info such as content_types, which can not be loaded into the new database because they already exist.
Finally, does your app work? Test the data. Hopefully everything is hunky dory.
Fork me on GitHub